

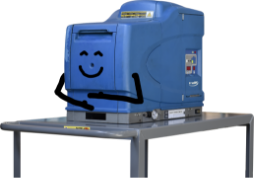


How to Changeover Adhesive in Your Hot Melt Equipment

No matter the reason you may be changing from one hot melt adhesive to another, it’s important to be careful and thorough when making the switch. If remains of your previous adhesive are left in your equipment, you could run into issues with production immediately and in the future. Follow our recommended steps below to make sure the transition to your new adhesive is as seamless as possible.
Here’s how to changeover adhesive:
1. Purge the current hot melt adhesive in your equipment. This can easily be done through the manifold drain.
– Note: this is an ideal time to clean the tank and replace filters, but it is not a necessary step.
2. Use a rag to soak up large puddles of adhesive that may still be left in the tank.
3. Put the new hot melt adhesive into the equipment and wait for it to reach the proper temperature.
4. Pump the new hot melt adhesive through each hose and applicator head to purge the old adhesive.
– Purge until there is an obvious color change in the adhesive output or until air bubbles appear from the separation of the two adhesives in the hose. Then, purge just a little bit more to ensure you are using only the new hot melt.
– Repeat this step for each hose and applicator head.
5. Add more of the new hot melt adhesive to your equipment and allow everything to reach its recommended temperature.
6. Once it’s at the correct temperature, you are ready to test the new hot melt on your application.
Now you know how to changeover adhesive. But you might still have questions or concerns (or maybe just need some moral support!). Chicago Glue & Machine is one call away! We’d be glad to help talk you through the process or come visit your facility if you need hands-on assistance. We can also help you determine if you need to switch your adhesive and which one is best for your specific application.